
Water stays inside your irrigation lines after the sprinklers stop running. Before freezing weather arrives, that water needs to be removed so it cannot freeze, expand and damage the system.
A sprinkler blowout uses compressed air to move water out of sprinkler and drip irrigation lines. This checklist explains what you can prepare, what your technician will handle and what to confirm before the work is finished.
How a Sprinkler Blowout Works?
The technician shuts off the irrigation water supply, connects a compressor and clears the watering areas, called zones, in sequence. This includes lawn sprinklers and connected drip irrigation.
Simply switching off the controller does not remove water. Opening a drain may also leave water in low sections of pipe or inside components. A blowout moves water out using compressed air, with equipment and pressure settings suited to the system.
For you as the property owner, the useful preparation is straightforward: identify every watering area, report known problems and provide access. The compressor setup and water removal are the technician’s part of the job.
Complete Sprinkler Blowout Checklist
Follow these steps before, during and after your service appointment. Keep your notes in one place so you can review them with the technician.
Step 1: Schedule Service Before Freezing Weather Arrives
Arrange the blowout before freezing conditions are expected. Do not wait for the ground to become frozen before booking.
Tell your provider whether the system is still in use and whether it has been exposed to recent freezing weather. Mention any attempt to drain or blow out the lines yourself, even if you only worked on one zone.
Confirm what access is needed and whether someone should be home. Contact the provider if freezing weather is forecast before your appointment so they can advise you about your system.
Step 2: List Every Sprinkler Zone and Drip Irrigation Area
Write down the areas your system waters. Include separate beds and narrow strips as well as the main lawn.
Your list might include:
- Front and back lawn zones.
- Sprinklers along the driveway or side yard.
- Drip irrigation in shrub and flower beds.
- Recently added or extended irrigation lines.
- Zones that have stopped working.
Share an existing irrigation plan or controller zone list when available. Explain any labels that are missing or incorrect.
A zone that no longer waters properly still needs to be mentioned. Let the technician determine what is required rather than assuming that section is empty.
Step 3: Show the Technician Any Known Leaks or Damage
Record problems you noticed while the system was operating. Include the location and zone number when you know it.
For example, “water collects around the head beside the garage when Zone 2 runs” gives the technician a clear place to check.
Useful problems to report include:
- Water continuing to flow after a zone stops.
- Broken or leaking sprinkler heads.
- Damaged or disconnected drip tubing.
- A zone with weak spray or no water.
- Leaks around visible irrigation equipment.
Use photos or videos you already have to show an intermittent problem. There is no need to restart a winterized or potentially frozen system to demonstrate it.
Ask whether a reported problem needs repair before the blowout, during the visit or at a separate appointment.
Step 4: Provide Access to the Controller and Water Shutoff
Clear the space around the irrigation controller and water shutoff. Arrange access through locked gates and move stored items that prevent the technician from reaching equipment.
Point out the backflow device and any pump associated with the irrigation system. Explain anything unusual about the water source or recent changes to the installation.
You do not need to remove fittings or prepare an air connection yourself. Leave unfamiliar valves and connections for the technician to identify.
Step 5: Have the Irrigation Water Supply Shut Off
The technician isolates the irrigation water supply before clearing the lines. This prevents more water from entering while the blowout is underway.
The controller and water shutoff do different jobs:
- The controller starts and stops scheduled watering.
- The water shutoff isolates the irrigation supply.
- The blowout removes water already inside the connected lines.
Have the technician identify the irrigation shutoff for you. A label or photo will help prevent it from being reopened by mistake after service.
Step 6: Have the Compressor Set Up for Your System
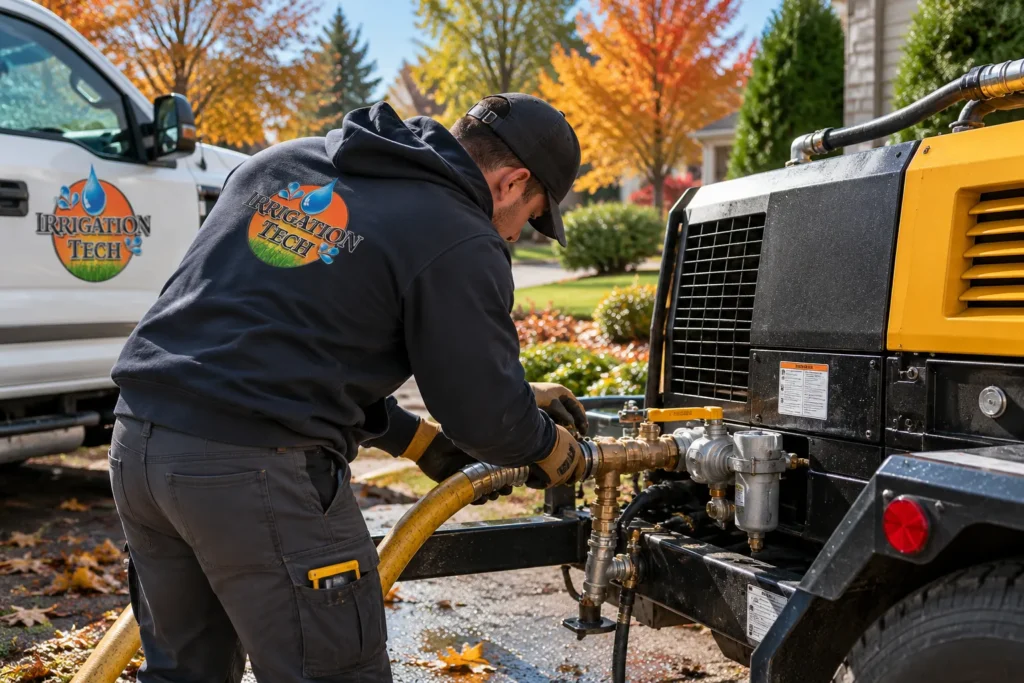
The technician connects the compressor and hoses and selects settings appropriate for the irrigation components.
Pressure needs to be controlled. Too much can damage pipes, valves or heads; an unsuitable setup can leave water behind. A setting used on another property is not a reliable instruction for yours.
Tell the technician about separate drip zones, pumps, recent repairs and any unfamiliar equipment. These details help them assess the system before applying compressed air.
Leave compressor connections and adjustments to the person carrying out the blowout.
Step 7: Have Each Sprinkler and Drip Zone Cleared
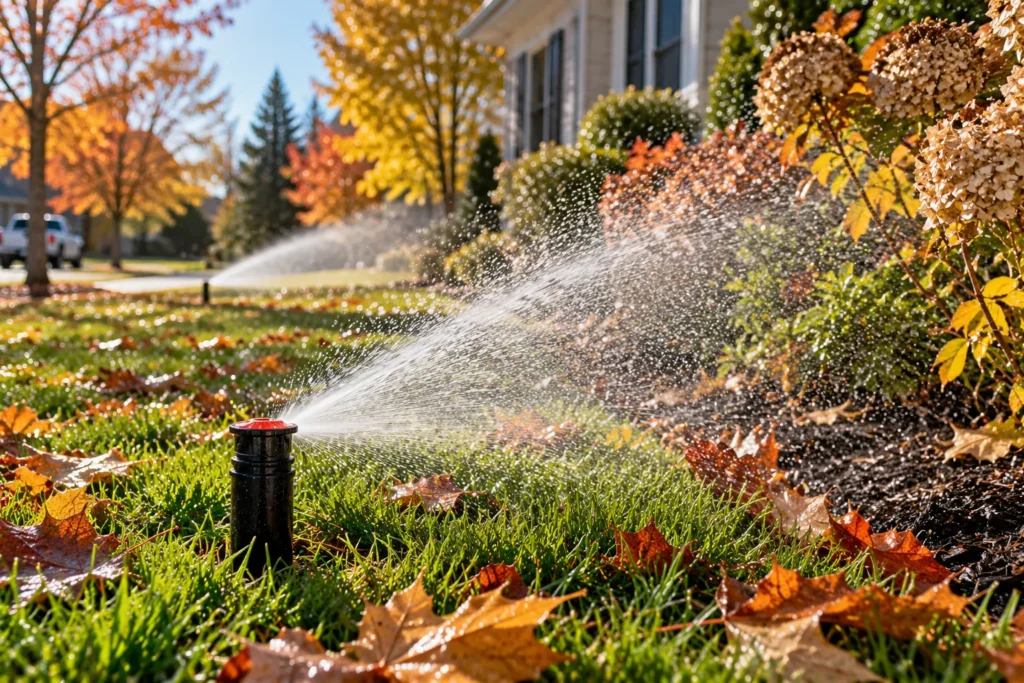
The technician works through the system zone by zone. Each connected watering area needs to be accounted for, including drip beds that do not spray visibly like lawn sprinklers.
Use your area list to confirm that nothing has been overlooked. Seeing air come from one sprinkler head does not show whether the rest of the system has been cleared.
Before the work finishes, ask:
- Were all lawn and planting-bed zones included?
- Was any zone unable to operate or be cleared?
- Does any part of the system need further attention?
A zone that could not be serviced needs an explanation and a next step. Keep that information with the service record.
Step 8: Confirm the Winter Settings and Outstanding Repairs
Review the final shutdown with the technician before they leave.
Ask them to show you the correct controller setting and explain how the irrigation shutoff should remain. Follow the instructions for your controller rather than assuming it should always be unplugged.
Record any damaged equipment or repairs still needed. Confirm which issues require attention now and which can be addressed before spring start-up.
Take a photo of the controller setting and save the service notes. This gives you a reference if someone later changes the controls or asks about the shutdown.
Step 9: Leave the System Off After the Blowout
Keep the irrigation system shut down after winterization. Turning the water back on can refill the lines and create the need for another blowout.
Plants that still need water should have a separate care arrangement. Speak with your irrigation provider before restarting the installed system.
Report persistent dripping or water collecting around irrigation equipment after the service. Send a photo and describe the location. Avoid adjusting unfamiliar valves to investigate.
What to Do if You Suspect the System Has Frozen
Do not operate the sprinklers or try to force water through suspected frozen lines. Irrigation Tech recommends having the system inspected before turning it on.
Tell your provider when the freezing weather occurred, whether the irrigation supply is still on and whether the system has run since. These details help them assess what needs checking.
A warmer afternoon does not confirm that the equipment is undamaged. Have its condition checked before operation resumes.
Sprinkler Blowout Service With Irrigation Tech
Irrigation Tech provides fall winterization for lawn sprinkler systems and planting-area drip irrigation in Rochester and the Finger Lakes.
When arranging service, share your zone list, known problems and any concerns about freezing. The team can explain the work your system needs and how to leave it after shutdown.
Schedule Sprinkler Winterization With Irrigation Tech
FAQ
How long should I allow for a sprinkler blowout appointment?
Ask your provider for an estimated appointment length when booking. Irrigation Tech does not publish a standard duration. Explain whether your property has separate lawn zones, drip beds or equipment problems so the team can advise you about the visit.
Does an unused sprinkler system still need a blowout?
Not using the sprinklers does not confirm that the pipes are empty. Tell your provider whether the water supply was reopened after the previous winterization and whether any repairs or testing took place. Have them assess the need for service rather than skipping it because no watering cycles ran.
Can backflow testing be completed during the same visit?
Irrigation Tech can perform backflow testing during a winterization appointment. Request both services when booking and confirm they are included. A sprinkler blowout removes water from irrigation lines; backflow testing checks the prevention device, so one should not be assumed to include the other.
Does a newly installed irrigation system need winterization?
A new system still needs winter preparation if it contains water and will be exposed to freezing conditions. New pipes and sprinkler heads are not protected from freezing simply because they were recently installed. Ask your installer whether winterization has already been completed or needs a separate appointment.
Does a fall blowout replace a spring start-up inspection?
A fall blowout and a spring start-up serve different purposes. The blowout prepares the system for winter; the spring inspection checks its condition before watering resumes. Irrigation Tech’s start-up service includes pressurizing the system, checking zones, inspecting heads and drip lines, and adjusting the controller and rain sensor.