
Before the first freeze, your irrigation system needs more than a change to its watering schedule. Water left inside pipes, valves, sprinkler heads and drip lines can freeze and cause damage, even after you turn the controller off.
Preparing early gives you time to spot leaks, arrange winterization and plan separate watering for any new plants that still need care. This fall irrigation system checklist walks you through what to check yourself, what your technician will handle and how to leave the system after shutdown.
Why Your Irrigation System Needs Winterization
Turning off the controller stops scheduled watering but water remains inside the pipes and other components. When that water freezes and expands, it can damage supply lines, valves, sprinkler heads and drip irrigation. Winterization removes the water before freezing weather puts the system at risk.
Start preparing while the system is still operating. You will have an easier time identifying problems, explaining them to your technician and arranging any care your new plants need after shutdown.
Fall Irrigation System Maintenance Checklist
Work through these steps before and during your winterization appointment. Keep a short list of problems as you go, including the location and zone number when you know it.
Step 1: Schedule Winterization Before Freezing Weather Arrives
Arrange your winterization appointment before freezing weather is expected. Avoid choosing a shutdown date simply because it worked last year; fall weather can change, and your property may have different watering needs this season.
When booking, tell your irrigation provider about new planting, recent irrigation changes and any equipment problems. Ask what access they need and whether someone should be home.
Watch the forecast as your appointment approaches. Contact your provider if freezing weather is expected sooner so they can advise you about your system. Equipment that may already be frozen should be inspected before it is operated.
Step 2: Review Your Watering Schedule for Fall Conditions
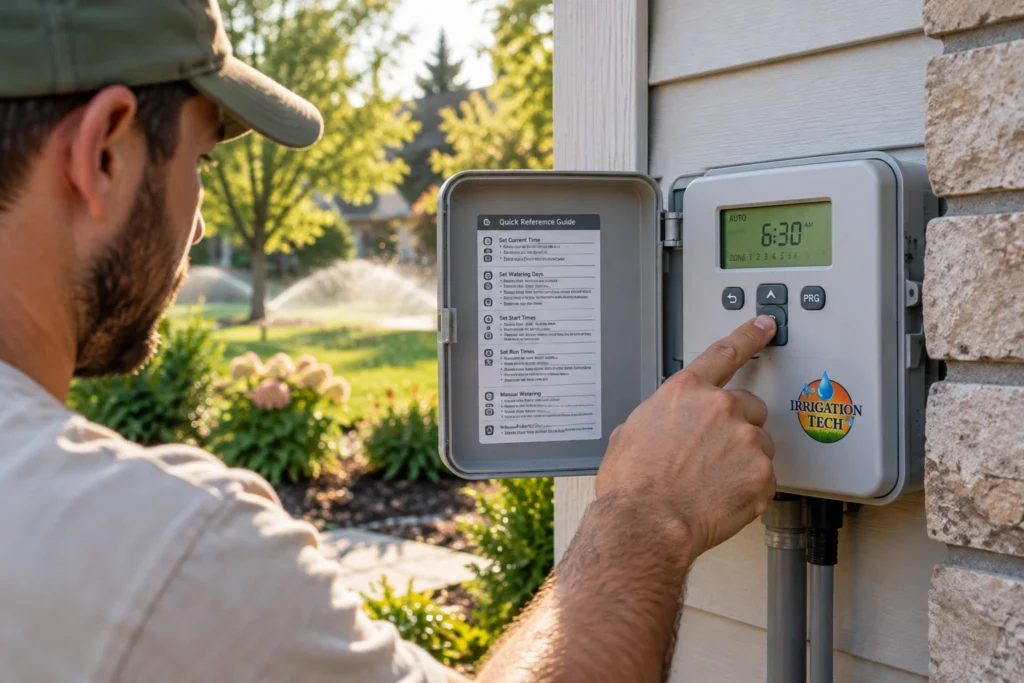
Check the controller before shutdown rather than leaving it on the same settings used throughout summer. Review the watering days, start times and run times for each zone. Pay particular attention to settings you changed for new planting or during a dry spell.
Walk around the yard and note:
- Areas that stay wet: Record where the ground remains unusually soggy or water collects.
- Areas that stay dry: Note sections that seem to receive less water than the surrounding lawn or beds.
- Recent landscape changes: Identify new plants, expanded beds or growth that may affect sprinkler coverage.
One dry patch does not necessarily mean the whole yard needs longer watering. A damaged head, blocked spray or another equipment issue may need attention. Share your observations with the technician before making broad changes to the schedule.
Step 3: Check Each Sprinkler Zone for Leaks and Poor Coverage
While the system is still in use and conditions are suitable, watch each zone during a normal watering cycle. Do this before winterization, not afterward. Look for heads that fail to rise, spray unevenly or send water onto paving instead of the lawn. Also watch for water pooling around a head or an area where the spray appears unusually weak.
Write down exactly where you see the problem. For example, the sprinkler beside the front steps does not rise gives your technician a useful starting point. A photo or short video can help show a problem that is not visible once the water stops.
Report ongoing leaks when you find them. Ask whether they need repair before shutdown rather than assuming they can wait until spring.
Step 4: Check Drip Lines and Include Every Connected Planting Bed
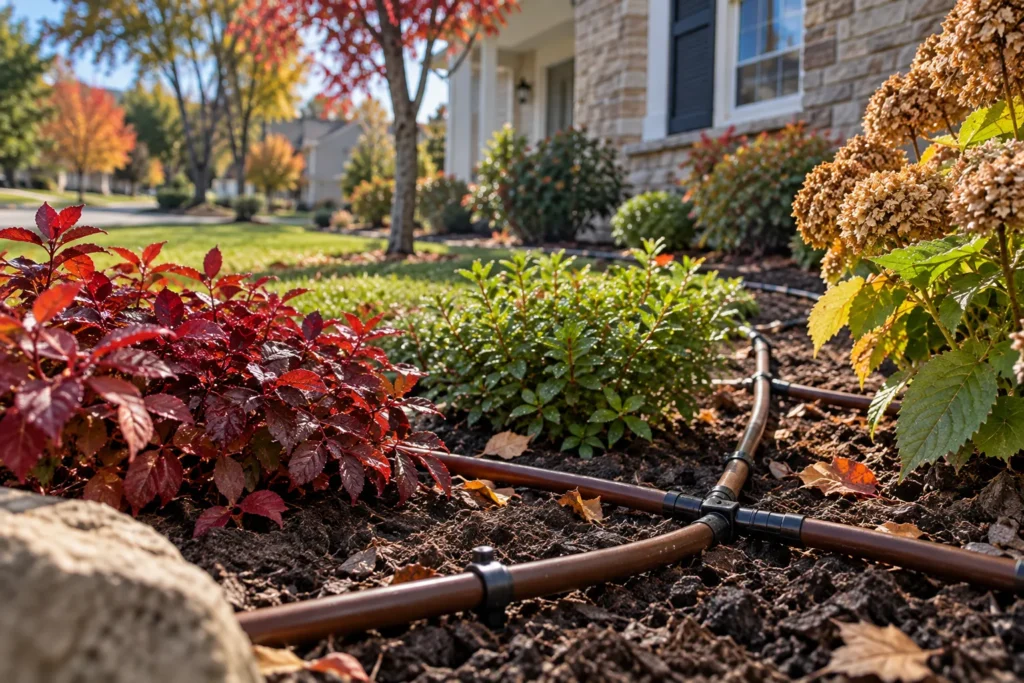
Walk through the planting areas served by drip irrigation. Check visible tubing for damage or disconnected sections, and note places where water appears to collect.
Include beds behind shrubs, along fences and away from the main lawn. These areas can be easy to forget when discussing the system.
You do not need to uncover buried lines or take fittings apart. Instead:
- Point out every bed connected to the irrigation system.
- Mention any lines added or moved during recent landscaping.
- Mark the location of visible damage or suspected leaks.
Give this information to the technician so the winterization includes both lawn sprinklers and planting-area irrigation.
Step 5: Plan Separate Watering for New Plants After Shutdown
New planting can make the timing of shutdown less straightforward. Before the appointment, identify any newly planted trees, shrubs or lawn areas that still need watering attention.
Ask your planting provider for care instructions suited to those plants and discuss the shutdown timing with your irrigation provider. Make the arrangements before the sprinklers are turned off.
Your plan should answer three practical questions:
- Which plants still need care? List their locations so nothing gets missed.
- When should you check them? Follow the planting provider’s instructions for checking soil moisture and deciding whether water is needed.
- How will you water them? Arrange a separate method, such as hand watering, that does not require restarting the irrigation system.
Keep those instructions available for anyone helping with the yard. A clear plan is especially useful when some new plants need attention while the rest of the landscape no longer needs scheduled irrigation.
Step 6: Make the Controller and Water Shutoff Easy to Access
Before the service visit, clear access to the controller, irrigation water shutoff and backflow device. Move stored items out of the way and arrange access through locked gates.
Have your notes and photos ready. Show the technician the areas where you noticed leaks, poor coverage or damaged equipment, along with any separate drip zones or recent additions.
Ask the technician to identify the irrigation shutoff if you are unsure which valve supplies the system. Have them explain how it should be left after service rather than trying different valves yourself.
Step 7: Have a Technician Winterize Every Sprinkler and Drip Zone
Winterization is the water-removal stage of the checklist. Switching off the controller or closing the water supply alone does not clear the water already inside the system.
During Irrigation Tech’s winterization service, the technician shuts off the irrigation water supply and uses a portable compressor to clear the sprinkler and drip zones in sequence.
Before work begins, confirm that the technician knows about every connected watering area. This is particularly useful when the property has separate planting beds or irrigation added after the original installation.
Leave compressor selection, pressure settings and the water-removal procedure to the technician. These need to suit the system and its components.
Step 8: Confirm the Winter Settings and Note Any Repairs
Before the technician leaves, review how the system should remain through winter. A few clear instructions now can prevent confusion later.
- Confirm all areas were included. Check that the service covered the lawn zones, drip lines and connected planting beds.
- Check the controller setting. Ask the technician to show you the correct winter setting and explain whether the controller should remain connected to power.
- Identify the water shutoff. Take a photo or label the irrigation valve so it is not reopened by mistake.
- Record outstanding repairs. Ask which problems need attention now and which can be addressed before spring start-up.
Keep the service notes and photos together. They will help you review any unfinished work when the system is started again.
Step 9: Keep the System Off and Report Any Leaks After Winterization
Leave the irrigation system shut down after winterization, even when a warm spell makes watering seem useful. Restarting it can put water back into the lines and create the need for another winterization.
Use the separate care plan for plants that still need water. Contact your irrigation provider before making any change that would refill the system.
Watch for persistent dripping or water collecting around irrigation equipment after the visit. Take a photo, note the location and contact your provider. Avoid adjusting unfamiliar valves or restarting the system to investigate.
Fall Winterization With Irrigation Tech
You can prepare for winterization without knowing how every part of your irrigation system works. Start with what you can observe: leaks, damaged heads, watering problems and planting areas that need to be included.
Irrigation Tech provides fall winterization for lawn sprinkler systems and planting-area drip irrigation in Rochester and the Finger Lakes. Share your checklist when arranging service so you can discuss shutdown timing, access and any repairs that need attention.
FAQs
Does an automatic drain valve replace winterization?
An automatic drain valve does not guarantee that all water has left your irrigation system. Water can remain in low sections of pipe and inside valves. Tell your technician that your system has automatic drains so they can assess how it should be winterized.
Does one frosty night mean my sprinkler system is damaged?
One frosty night does not automatically mean your sprinkler system has frozen or suffered damage. Irrigation Tech identifies sustained temperatures at or below freezing as the concern. However, frost alone cannot confirm the condition of your equipment. Arrange an inspection if you suspect freezing rather than running the system to test it.
Can backflow testing be done during my winterization appointment?
Irrigation Tech can perform backflow testing during a winterization visit. Request it when booking so the team knows you need both services. Winterization removes water from the irrigation system; backflow testing checks the prevention device. Confirm that both services are included in your appointment.
Is a sprinkler blowout the same as winterization?
A sprinkler blowout is the water-removal part of winterization. Winterization also includes shutting off the irrigation water supply and preparing the system to remain off through winter. When booking, confirm that the service covers the complete shutdown, including both sprinkler and drip zones.
Does a winterized system still need a spring start-up inspection?
A spring inspection is still useful because winterization does not prevent every type of off-season damage. Irrigation Tech’s start-up service includes pressurizing the system, checking each zone, inspecting heads and drip lines and adjusting the controller and rain sensor. This helps identify problems before regular watering resumes.