
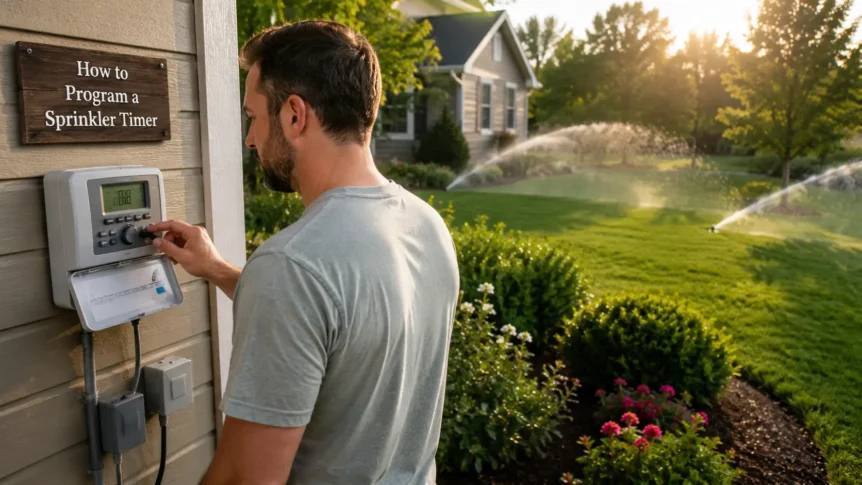
A sprinkler timer only works as well as the person programming it. Even the best irrigation controller on the market will overwater your lawn, underwater your flower beds, or run at the wrong time of day if the settings inside it aren’t dialed in correctly. If you’ve ever stared at a control panel full of buttons and dials wondering where to even start, you’re not alone, this is one of the most common calls we get, right up there with a zone that won’t turn on or a timer that seems to have a mind of its own.
The good news is that programming a sprinkler timer isn’t complicated once you understand what each setting actually does. Below, we’ll walk through the full process step by step, cover the mistakes that trip up most homeowners, and give you some troubleshooting basics for when things don’t run the way they should.
Digital vs. Mechanical Sprinkler Timer
Before you touch a single button, it helps to know what type of controller you have. There are two main categories, and they behave very differently.
Mechanical timers use a rotating dial with mechanical pins or tabs to control watering days and times. They’re simple, but they’re also imprecise and start times often drift by a few minutes over the years, and there’s no memory backup if the power goes out. If your controller has a dial you physically turn rather than a screen you press buttons on, you likely have one of these.
Digital timers use electronic programming and typically include a small LCD screen. They’re more precise, offer more flexible scheduling, and many newer models are considered an easy-to-program sprinkler timer thanks to menu-driven setup screens that walk you through each step. If you’re shopping for a replacement, a digital model is almost always the better long-term investment, especially if you want features like multiple start times per day or seasonal adjustment.
We cover the practical differences between mechanical, digital, and WiFi-enabled controllers in more depth in a separate guide.
Either type can be programmed successfully, the steps below apply to both, though the exact buttons will vary by brand and model.
Step 1: Set the Clock and Current Date
This sounds obvious, but it’s the step people skip most often, and it throws off everything downstream. Your timer uses the current time and day of the week to determine when each program should run. If the clock is wrong, your “6:00 a.m.” start time might actually fire at 5:00 a.m. or not at all.
Most controllers have a dedicated “Clock” or “Time/Date” setting. Set the correct time, date, and day of the week before doing anything else.
Step 2: Select Your Watering Days
Next, choose which days of the week each program should run. Most timers offer a few different scheduling modes:
- Specific days: you manually select Monday, Wednesday, Friday, for example
- Odd/even days: watering based on the calendar date
- Interval watering: the system runs every third or fourth day, regardless of the day of the week
For most established lawns, two to three days a week is plenty. Watering every single day actually works against you and it encourages shallow root growth and wastes water. If your municipality has watering restrictions (many do during summer months), make sure your selected days comply, since a mismatch here is one of the most common and easily avoidable mistakes homeowners make.
Step 3: Choose the Start Time
Set your program to begin in the early morning, ideally between 4:00 a.m. and 8:00 a.m. Watering during this window means less water is lost to evaporation, and the grass has time to dry out before evening, which helps prevent fungus and disease.
Avoid watering at night. It feels convenient, but it leaves grass damp for hours, creating conditions that fungus and mold thrive in.
If you have several zones, most controllers calculate the start time for later zones automatically, running them sequentially after the first zone finishes. You typically only need to set one start time per program.
Step 4: Set the Run Time for Each Zone
This is where irrigation controller programming gets a little more nuanced, because not every zone needs the same amount of water. A zone running spray heads on a small flower bed needs far less time than a zone of rotor heads covering a large stretch of lawn.
As a general starting point:
- Spray heads typically need 10–15 minutes per session
- Rotor heads typically need 25–35 minutes per session, since they apply water more slowly over a wider area
- Drip irrigation zones often need much longer run times, sometimes 45–60 minutes, because they deliver water at a low, steady rate
These numbers vary based on your soil type, slope and local water pressure, so treat them as a starting point rather than a fixed rule. Excessive run times are one of the most common programming mistakes we see not just because of wasted water, but because it can lead to runoff, soggy patches and even foundation issues near the house.
Step 5: Confirm the Program Is Set to “Automatic”
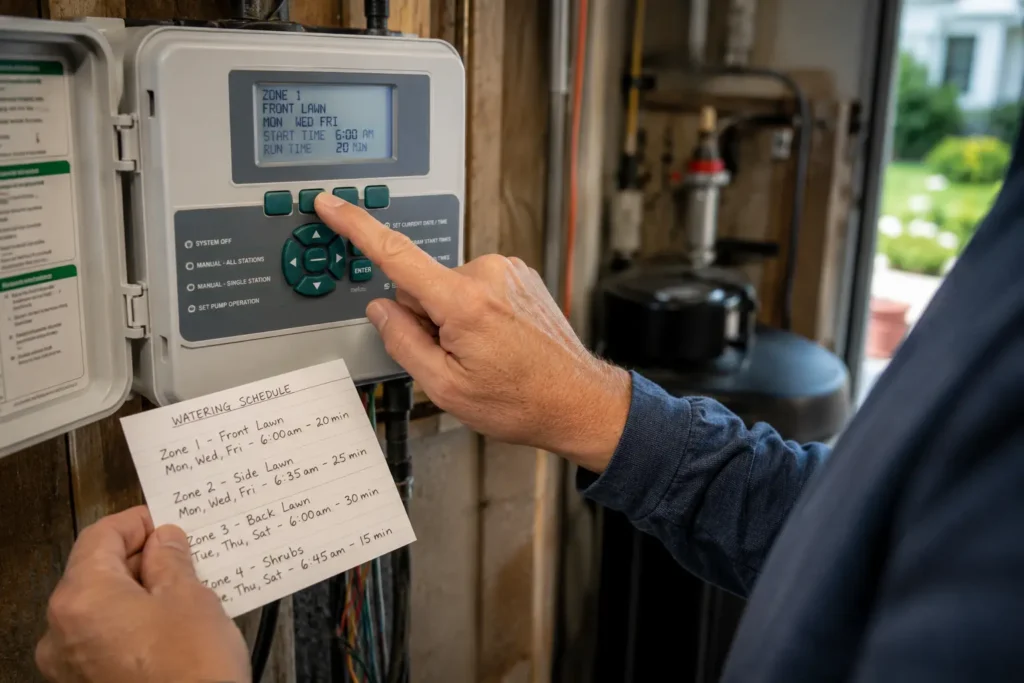
Once everything is programmed, don’t forget the final step: switch the controller from “Off” or “Manual” back to “Auto” or “Run.” This sounds almost too simple to mention, but forgetting to switch the timer to automatic mode is an incredibly common oversight, especially after using the manual setting to test a zone. If the timer stays in manual mode, none of your scheduled programs will run.
Common Sprinkler Timer Programming Mistakes
To recap, here are the mistakes we run into most often when troubleshooting a system for a homeowner:
- Incorrect time or date settings, which throw off every scheduled start time
- Wrong watering days selected, either by accident or because local restrictions changed
- Excessive run times per zone, leading to wasted water, runoff, or soggy lawn patches
- Leaving the controller in manual or off mode after testing a zone
- Not adjusting for the season, since a schedule that works in June is often too much water by September
Sprinkler Timer Not Working?
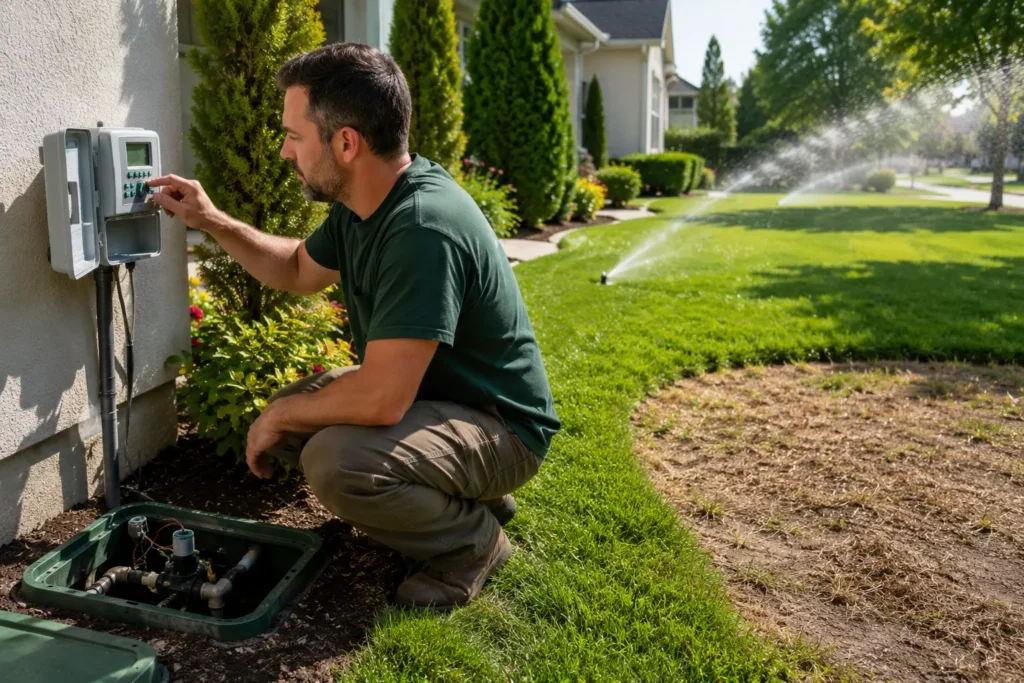
If you’ve programmed everything correctly and the system still isn’t running on schedule, a few quick checks can save you a service call:
- Check the power source. A controller that’s lost power, or one plugged into an outlet controlled by a switch that got flipped off, won’t run any programs.
- Confirm the mode is set to Auto, not Off or Manual.
- Look for a rain sensor or moisture sensor override. Many systems automatically skip a cycle after recent rainfall, which is normal, not a malfunction.
- Test one zone manually. If a single zone won’t turn on even in manual mode, the issue is likely a wiring problem or a stuck valve rather than a programming error.
Sprinkler Timer Battery Backup and Power Outages
Most digital controllers include a small backup battery, separate from the main transformer, that holds your programmed schedule and the current time during a power outage. This is different from the batteries used in fully battery-operated controllers for systems without easy access to an outlet.
If your sprinkler timer loses its programming every time the power flickers, the backup battery has likely died and needs to be replaced. It’s a cheap, five-minute fix, and it’s worth checking anytime you notice the clock or programs resetting on their own after a storm.
When to Call a Professional?
Programming a timer is something most homeowners can handle on their own once they understand the settings. But if you’ve gone through every step above and a zone still won’t run, the controller won’t hold power, or you’re not confident in the wiring behind the panel, it’s worth having someone take a look before you start testing wires on a guess. A miswired terminal can damage a valve solenoid, and that’s a more expensive fix than the timer issue you started with.
If your system needs a closer look, we’re happy to help walk through it with you, whether that means a quick phone conversation or an on-site visit.
you’ve gone through all of this and something still isn’t right, or you inherited a system with a timer you can’t make sense of, we’re happy to help, including a hands-on repair visit when the fix goes beyond the settings.
FAQs
How often should I water my lawn each week?
Most established lawns do well with two to three watering days per week rather than daily watering, which encourages shallow roots and wastes water.
Why does my sprinkler timer keep losing its program?
This is usually a sign the backup battery has failed and needs replacing, especially if it happens after every power outage or outlet interruption.
What’s the best time of day to water my lawn?
Early morning, generally between 4:00 a.m. and 8:00 a.m., minimizes evaporation and gives grass time to dry before evening.
Do I need to reprogram my timer for each season?
Yes. Watering needs in July are very different from watering needs in September, so it’s worth reviewing your run times and frequency a few times throughout the season.
My timer is programmed correctly, but a zone still won’t turn on. What’s wrong?
If manual mode also fails to trigger that zone, the issue is likely a wiring or valve problem rather than a programming mistake, and it’s worth having a technician take a look.